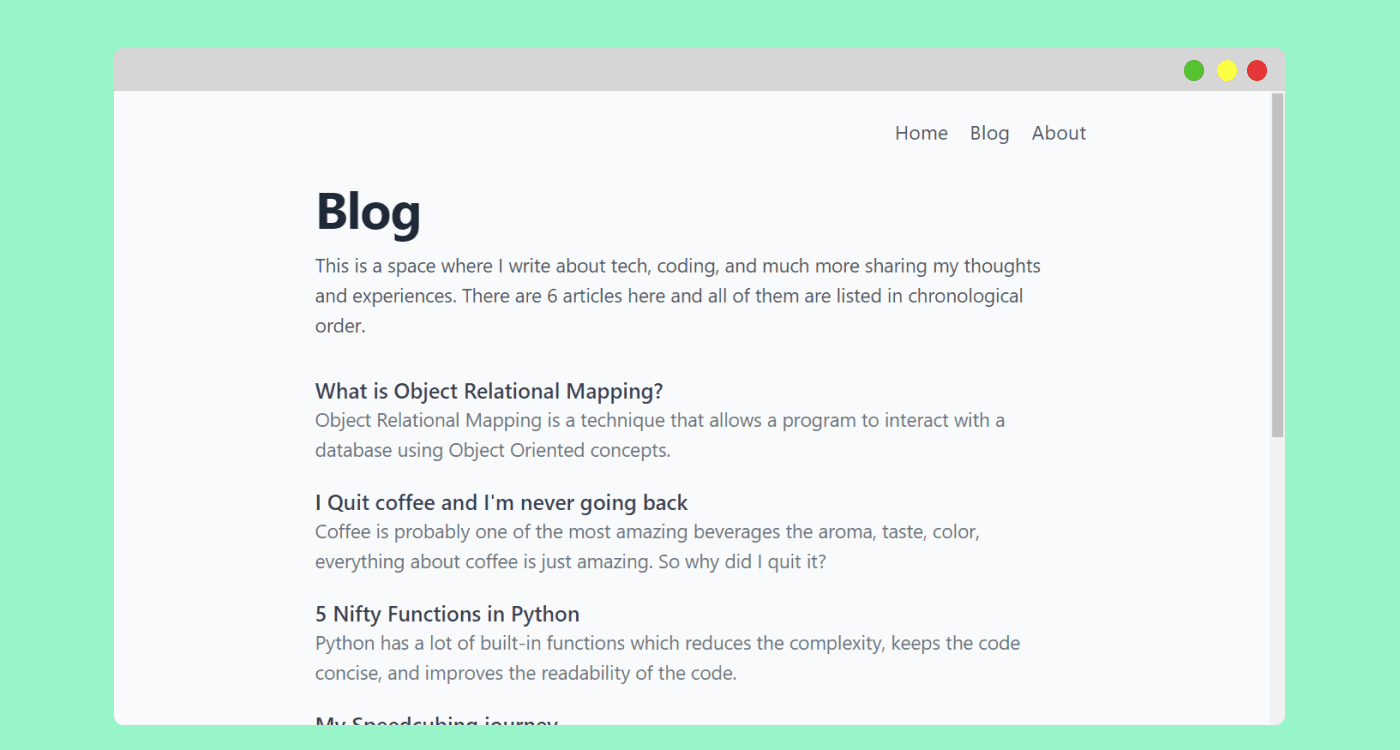
Having a portfolio is a good way of showing the skills you have. A good portfolio not only shows your works and skills, but it also shows that you care about your work and you want people to notice it. I always wanted to code my websites by myself. Initially, it took a month to code this website as I was coding it on and off (I'm still making changes and adding new features).
Coding my portfolio from scratch is an opportunity to experiment and play with modern technologies. Initially, I was having my blog on another platform, but after some time I decided to have my blog on this website. So, in this article, I'll share How I created this Portfolio/Blog.
The technologies that I used to develop this website are Nextjs, Tailwind CSS, Firebase, and MDX. When starting this project I had a little Idea about NextJs and a good idea about Firebase.
Design and Styling
I always liked simple and minimalistic designs, so I kept the design of the website simple and clean. Initially, I thought of writing my CSS to style the website, but since I know that the design is simple without any complex components and animations, I thought of using a CSS framework. I went with Tailwind CSS as it gained popularity in the last year. There was a little learning curve but that wasn't an issue. I didn't draw any sketches or design the website with any tools, I just started coding with the intention of making changes as required.
Blog
Before building this website, I was having my blog in Hashnode(a free blogging platform for developers), but I wanted to keep my blog alongside my portfolio. So I started looking online on how to implement a blog on a NextJs app and, I found a lot of people are using markdowns for writing blog articles. I found out about MDX which combines markdown and JSX. Essentially MDX is a file type that allows using react components with markdown, which is perfect for writing long content like blogs.
The idea is you write the content of the article in a markdown file, as shown below
# This is the title_This text will be italic_**This text will be bold**- This is a list- Item 1
And libraries like next-mdx-remote will take the content from the markdown file and converts that into HTML syntax
<h1 id="this-is-the-title">This is the title</h1><p><em>This text will be italic</em> <strong>This text will be bold</strong></p><ul><li>This is a list</li><li>Item 1</li></ul>
Then that HTML can be inserted into your website. And the result would look something like this

Some other plugins which I used alongside next-mdx-remote are
- prism-react-renderer - For Syntax Highlighting in code snippets. Whenever I add a code snippet in an article, this library will give appropriate syntax color highlighting based on the language used in the snippet.
# This is an example of how a syntax-highlighted python code would look likedef foo():print('Bar')
- grey-matter - For parsing the frontmatter from the markdown files.
- reading-time - For calculating the reading time of an article.
Message Form
I created a message form so that if any visitor wants to contact me, they can send me a message. First, the visitor logs in with their Google account. After logging in, visitors can type and send a message. I went with google login as it doesn't require the visitor to fill out a registration form. And since only authenticated persons can send a message, I can know the correct details of the people who are sending me a message and, it also reduces spammers.
I used google authentication provided by Firebase to authenticate people. For storing the received messages, I used Firestore(A NoSQL database provided by Firebase). For viewing the received messages, I created a separate admin dashboard.
Tools, Resources and Inspirations
Some tools which I used are
- Figma - To design images for articles.
- Grammarly - To check spellings and grammar.
- Tinypng - To Compress images.
I took some ideas and inspirations from Brittany Chiang, Lee Robinson, Dennis Ivy.
Finally, I deployed this site on Vercel. I bought a domain from Godaddy and mapped the domain to the Vercel server, and that ties everything together. I hope you got something from this article. If you are more curious about how I coded this website, the source code is available in my GitHub.